So lately I have spent a lot of time planning new and upcoming home DIY projects both big and small. Yes, a lot of them include shiplap. Let's just be real for a moment, if I had it my way every single wall in my home would be covered with its beauty. But my husband- Austin - thinks thats just a little obsessive. Him and Joanna Gaines clearly have differing design outlooks.
The next couple of months are going to be insane guys. Pure chaos! I have 7 possibly 8 or 9 shows from mid September till mid/late November. Lord help me! So I decided for my own sanity to put off all big projects until my shows are over. Those projects include a master bath renovation and a kitchen makeover. However I have tons of small projects that can easily be completed on days when I need a break from slaving in my warehouse.
I checked one of these projects off the list yesterday. Redoing the wall from the garage entryway- check.
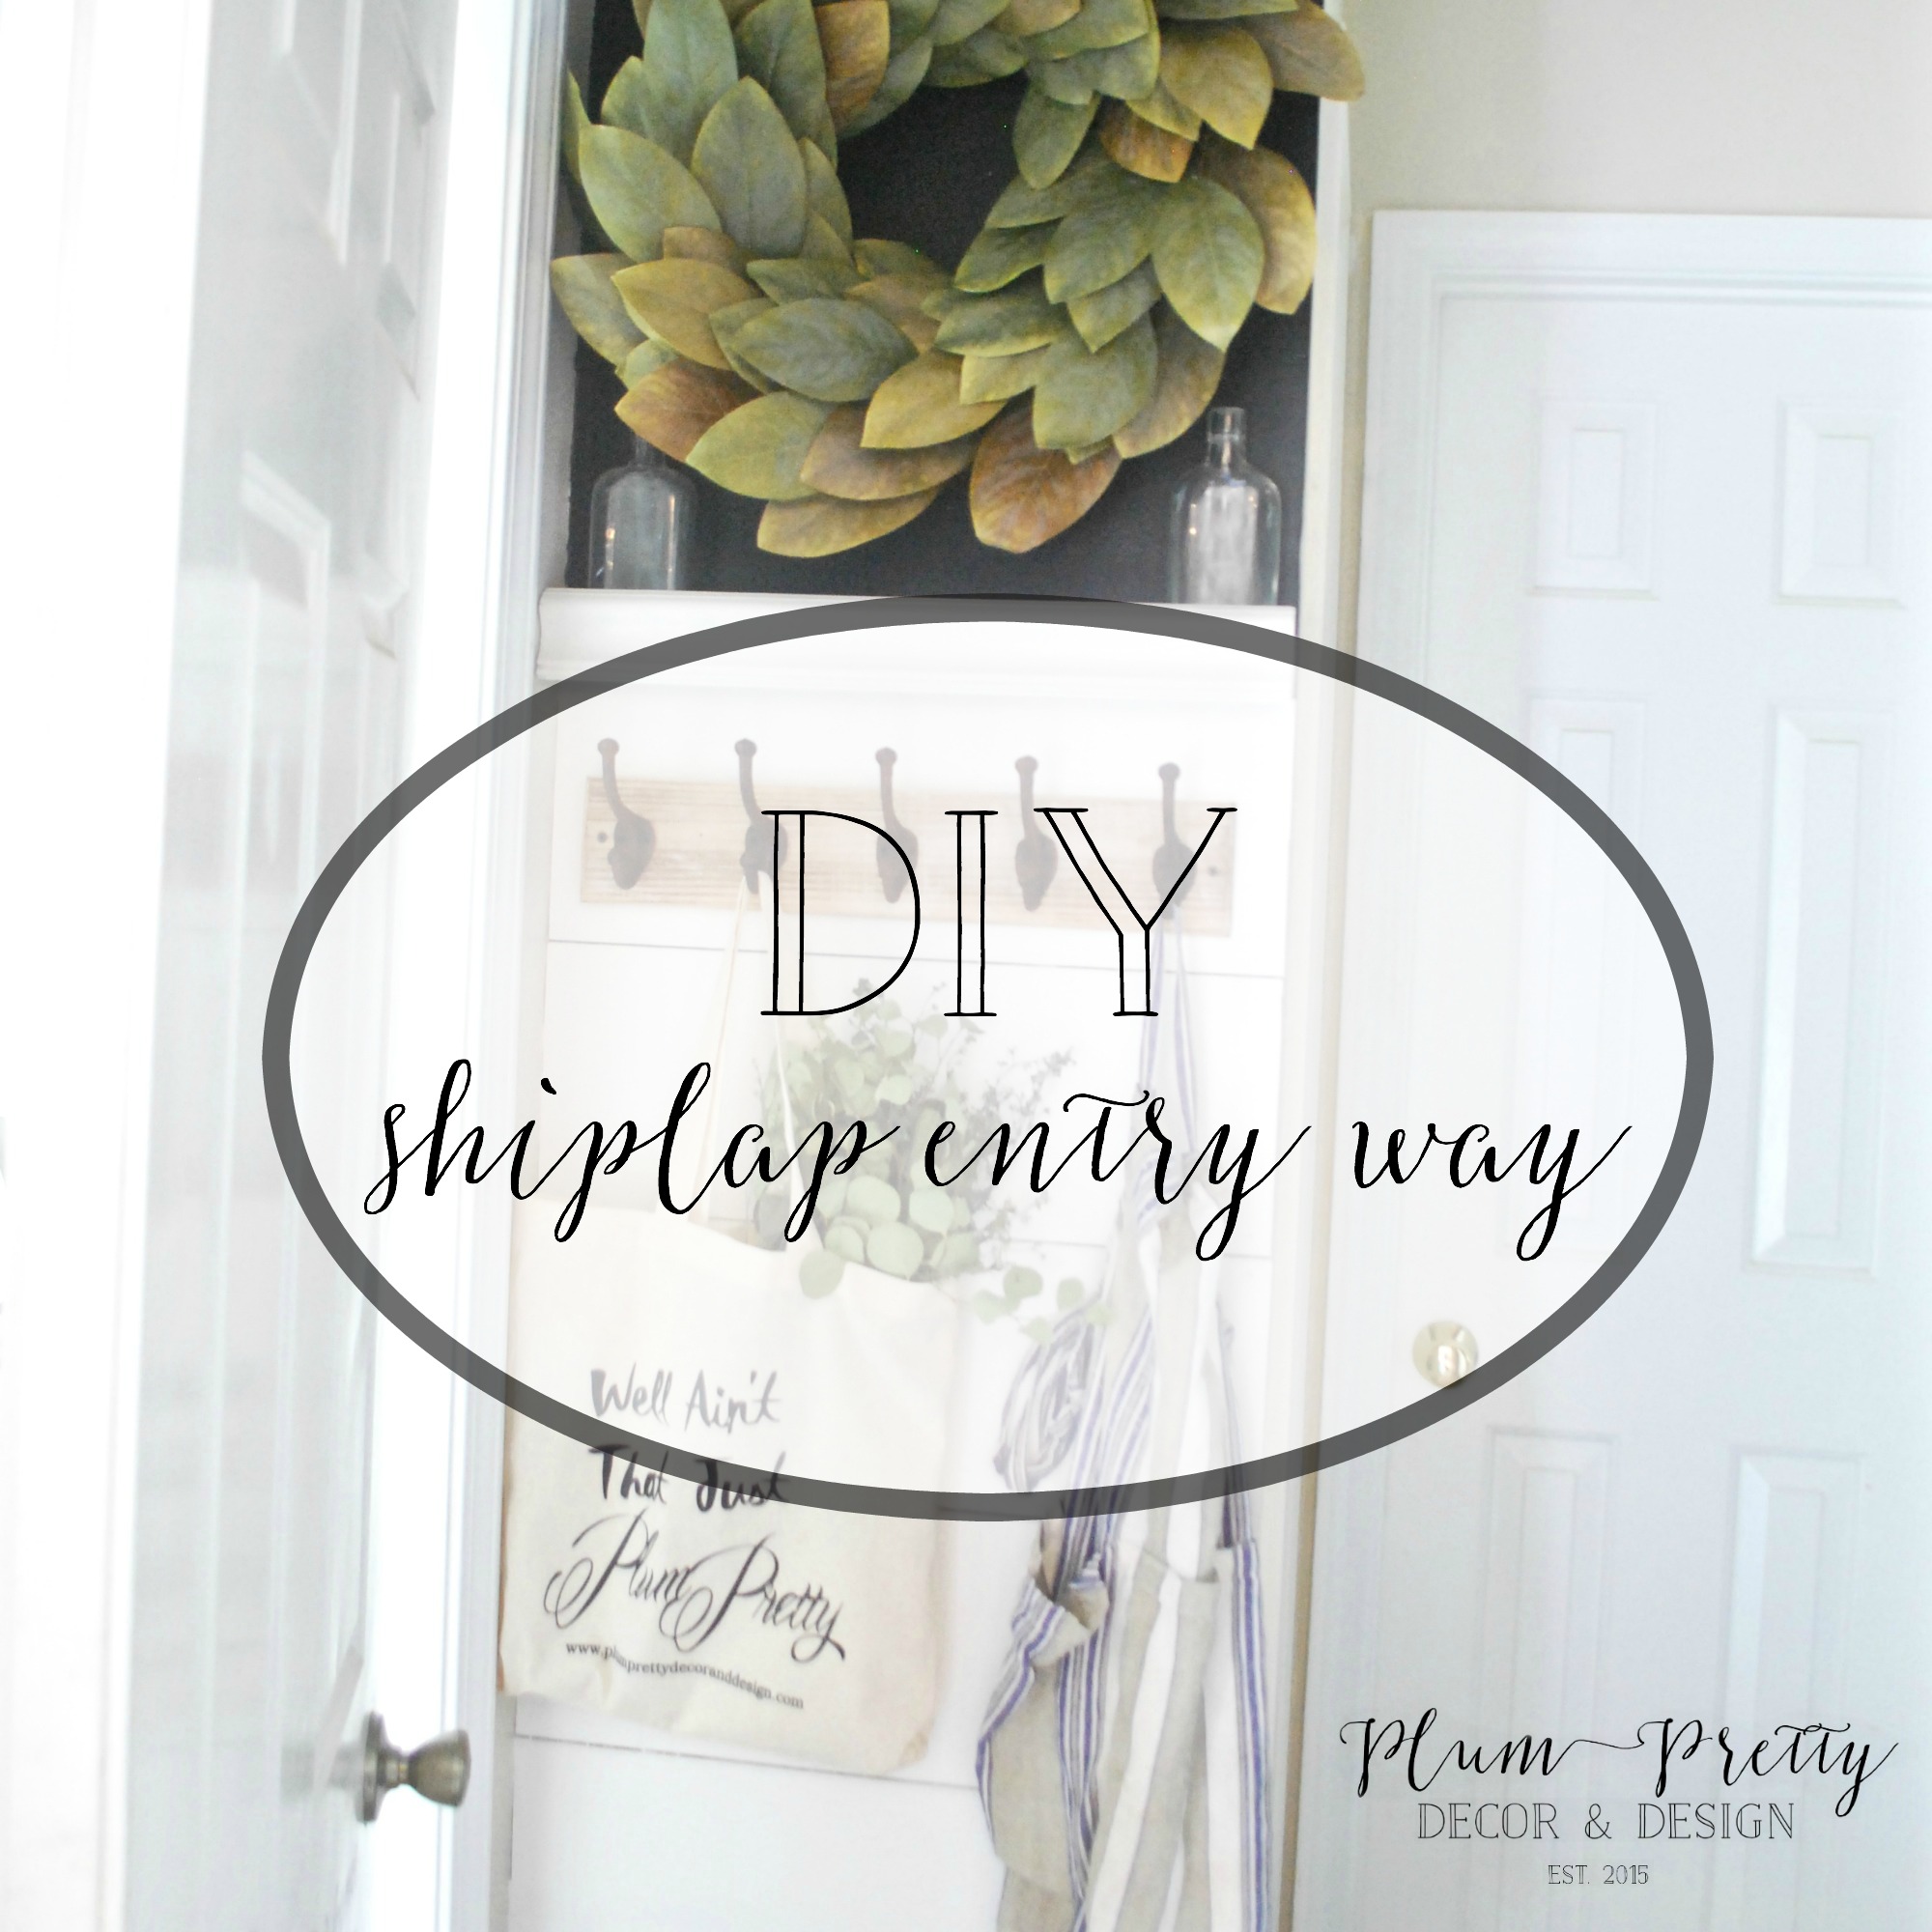
We have a very small (super small) entryway off our kitchen from the garage. This is our main entry point of the house. Because who actually uses their front door?! So it catches all the shoes, bags, jackets, and stuff. I turned a tiny coat closet into built in shelves back when we first moved in, eliminating a place to hang up jackets and such. So I mounted a board with some hooks- you know more of an open concept jacket hanging option. I painted the wall with chalk paint and scribbled my to-do list, grocery list, and events. Which may would have been practical if the jackets didn't cover it up. It stayed like this for a while and the board with hooks was practical hanging on by a thread- well that was until yesterday.
I had a ton of scrape faux shiplap left from previous shiplap projects so I decided to use it. I shiplapped majority of the way up the wall, added a small little ledge, and trim. Then securely mounted the hook/board to the shiplap. I decided to leave the upper portion of the wall with the chalk paint. We will see how it wears on me- I might end up painting it... Who knows at this point.
So here is the project breakdown:
Materials:
- Faux Shiplap cut into 8" strips
- Chop Saw
- Measuring Tape
- Pencil
- 3M-Scotch Blue- Platinum Painters Tape
- 3M Ultra Flexible Block Sanding Sponge
- Paint Brush
- Sherwin Williams Paint in the Color Alabaster in an Eggshell Finish
- Piece of Wooden Moulding
- Nail Gun and Finishing Nails
- Nickel for Spacing
Directions:
1. Cut your faux shiplap the length of the space you're covering. I had a 22" wall so I cut the faux shiplap at 22".
2. Place the first piece against the wall and adhere it using your finish nail gun.
3. Next use a nickel to space between the next board and continue the process of nailing boards up to your desired height.
4. Add the moulding and ledge if desired. I simply used a 2"x2" board for the ledge. I screwed the 2"x2" board to the wall and added the moulding piece to that.
5. Next sand over the faux shiplap boards. This removes any splinting areas from cutting the board with the chop saw- because it does tend to splinter.
*And just in case you want to know my amazing nail color is OPI Gel Polish in the color Did You'er About Van Gogh? One of my all time favorite colors!
6. Prep for paint using painters tape to safely cover wall edges and trim.
7. Paint the faux shiplap, moulding and ledge. I found this takes multiple coats. I used four coats for this project.
8. Mount the board that has the hooks with screws directly to the shiplap under the ledge/trim. I found mine at HomeGoods- they always have a good selection of hanging hook options.
9. My favorite step- style and decorate!
I decorated this space with a magnolia wreath and two flat glass bottles that fit perfect behind the ledge I built. This way I do not have to worry about knocking them off.
Now it's so pretty I don't want to hang jackets up!! The struggles..
With love,


