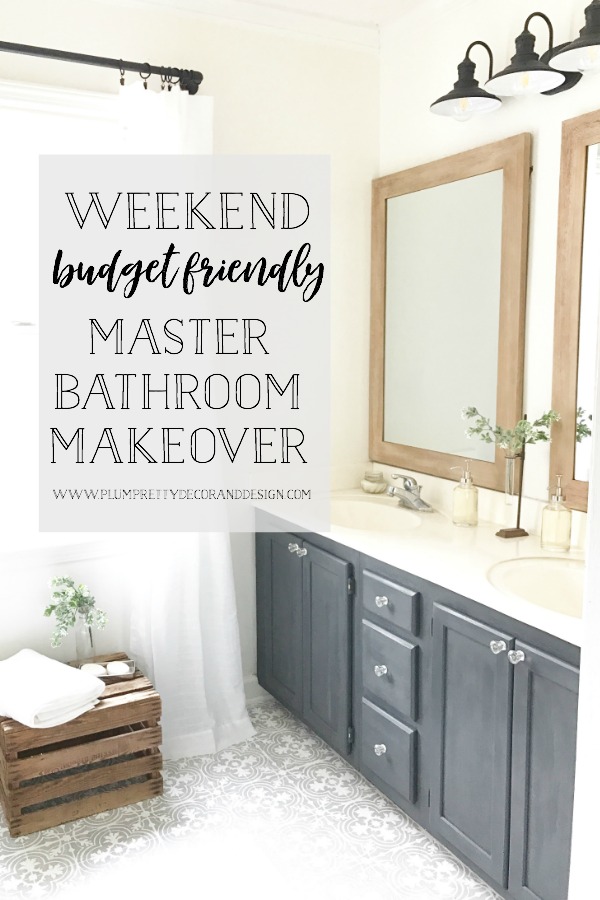
Goodness! Where has time gone? It's been so long since my last post where I promised you guys I would reveal my master bath makeover. I shared how I painted my linoleum floors to look like hand painted cement tiles, showing you glimpses of the redo, then just left you guys hanging. Please still be my friend! You know that saying- "it was worth the wait"? Well this may or may not have been worth your wait. I guess it just depends on how much you love budget friendly bathroom makeovers. I guess that's what happens when you randomly start a project during the busiest time of a design business and right before a busy show season starts. What was I thinking!? I'll tell you what I was thinking! I was thinking about how I could not stand this bathroom one more day. The first picture below is the day we moved in and the second was my first attempt at somewhat making it better. Notice the wiring on the chandelier... I promise I'm a professional designer guys. Please don't judge- HAHAHA.
Time is something that I can never get enough of here lately. I remember a couple years ago when we first moved into our home, when I could have multiple DIY projects going on at once. Now I'm lucky if I can get one started and completed before I lose track of what I was even doing in the first place. Yes, I'm the girl that spends 5 mins looking for her paint brush only to realize ohh that picture is crooked, gotta straighten that, then can't even remember what I was looking for... And I know I'm not the only one. Or at least I hope this isn't a sign of early designer dementia. So simple DIY projects that I can complete in one weekend have became my love. You know ones I can complete before I lose all my thoughts.
I have been planning a master bathroom makeover since the day we moved into our home over 3 years ago. I even have a blog post to prove it- CLICK HERE to see my original design plans for this space. Dang! I had it going on back then! I love how I say I spend so much time deciding on every single small detail- now I just start projects randomly and wing it as I go. Time really does change people. Here is my original style board for the space.
Although my bathroom makeover didn't turn out quite like my original plans, I'm pretty dang pleased with how well it did turn out. And here's a little secret.... Those original plans would have costed THOUSANDS and I achieved this look for HUNDREDS. And those original plans would have taken me weeks-okay who am I kidding- those original plans would have taken me months to complete, and this project only took me a single weekend.
And this whole project started while cleaning my toilet. Let me explain before you completely stop reading... Sometimes on Fridays I take the last half of the day to catch up on house chores and laundry. And on one of these random Fridays while cleaning the toilet in my master bath, I out of the blue decided to start painting my walls. Which led to painting and stenciling my floors, and a quick trip to town for some new decor pieces. And on that Sunday I had a completely new master bathroom. You can find my post on how to paint and stencil your floors with ALL the instructions and materails - HERE.
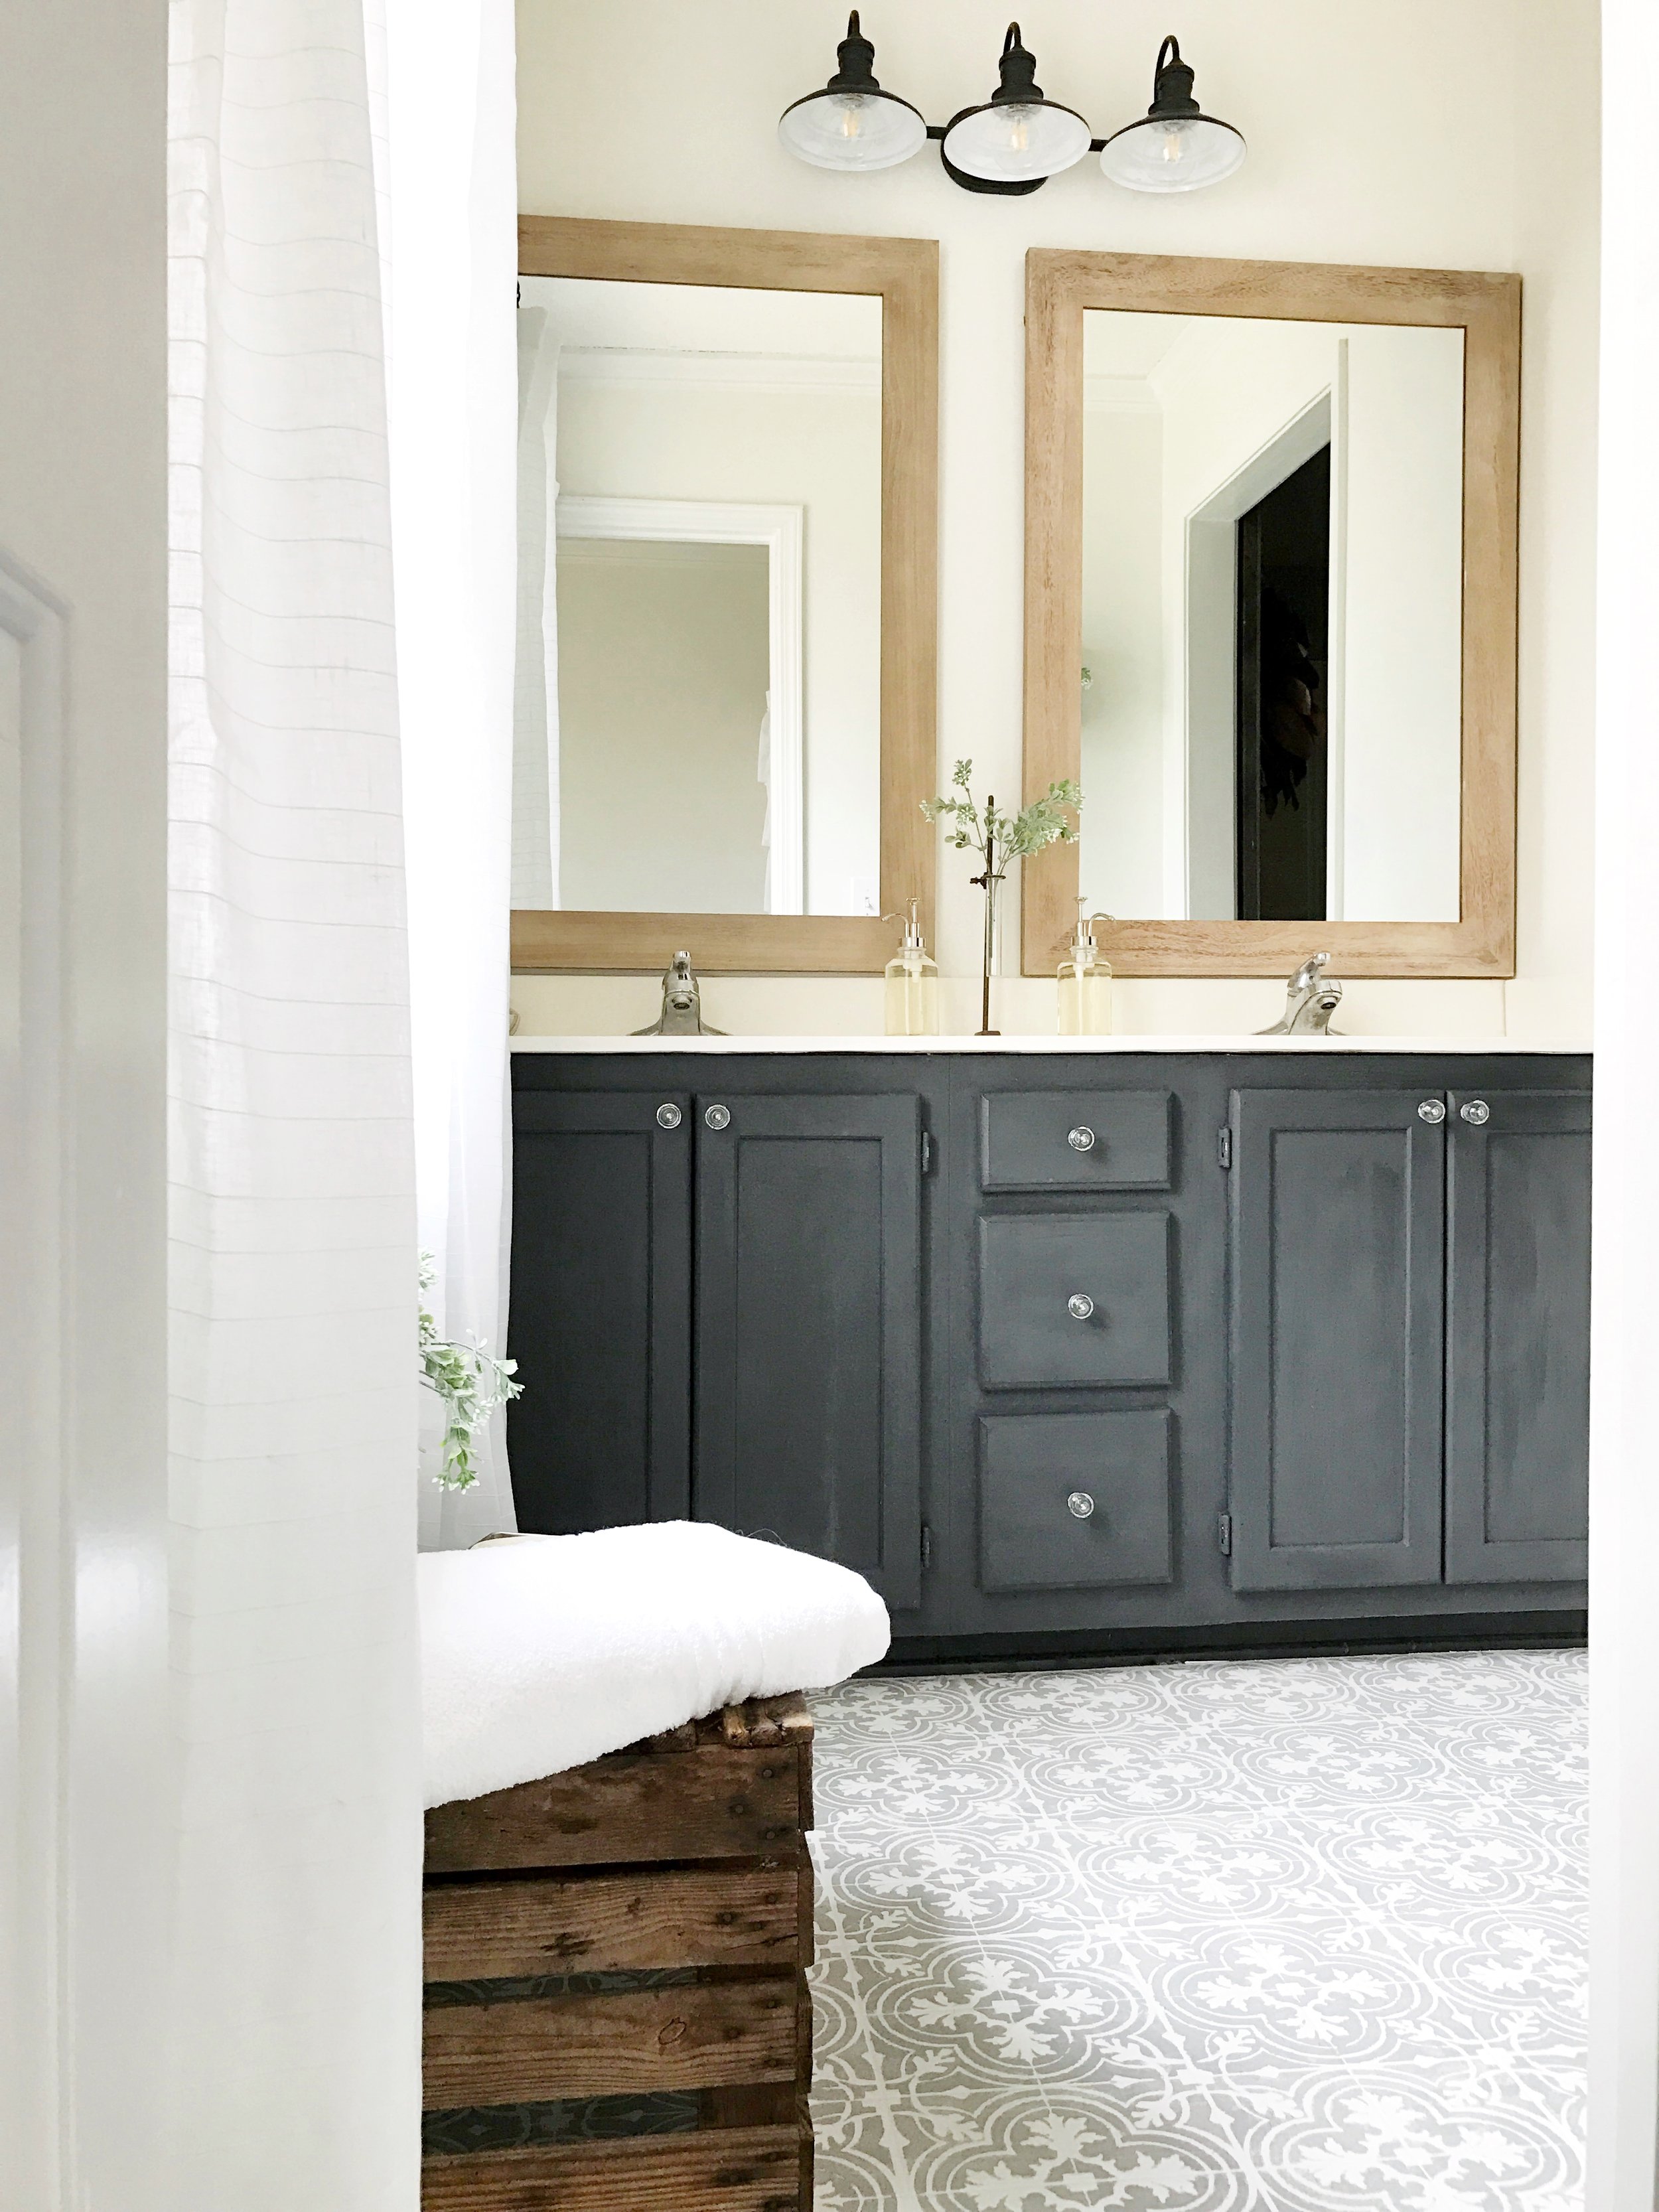
And here it is guys... My weekend budget friendly master bathroom makeover that cost me less than $500 for the entire thing!
Here's how I kept it budget friendly:
- I painted our existing vanity using Annie Sloan Chalk Paint. I used the color Graphite (a personal favorite of mine). This also helped tie in the bathroom to our bedroom. This is the same-ish color I used on our nightstands and faux fire mantel. I actually think I used Miss Mustard Seed Milk Paint in the color Typewriter on those but they are almost identical in color.
- Swapped out the knobs for some Hobby Lobby Glass knobs.
- Painted our linoleum floors instead of laying expensive tile. See the tutorial HERE.
- Selected budget friendly decor items from Target, Hobby Lobby, and shopped my own home.
Paint Colors:
- Wall Paint color: Alabaster by Sherwin Williams (my go to farmhouse white)
- Vanity Color: Graphite by Annie Sloan and sealed with her clear wax
Materials:
- Mirrors - Hobby Lobby
- Knobs- Hobby Lobby
- Light Fixture- Lowes Hardware - CLICK HERE *I spray painted mine a matte black
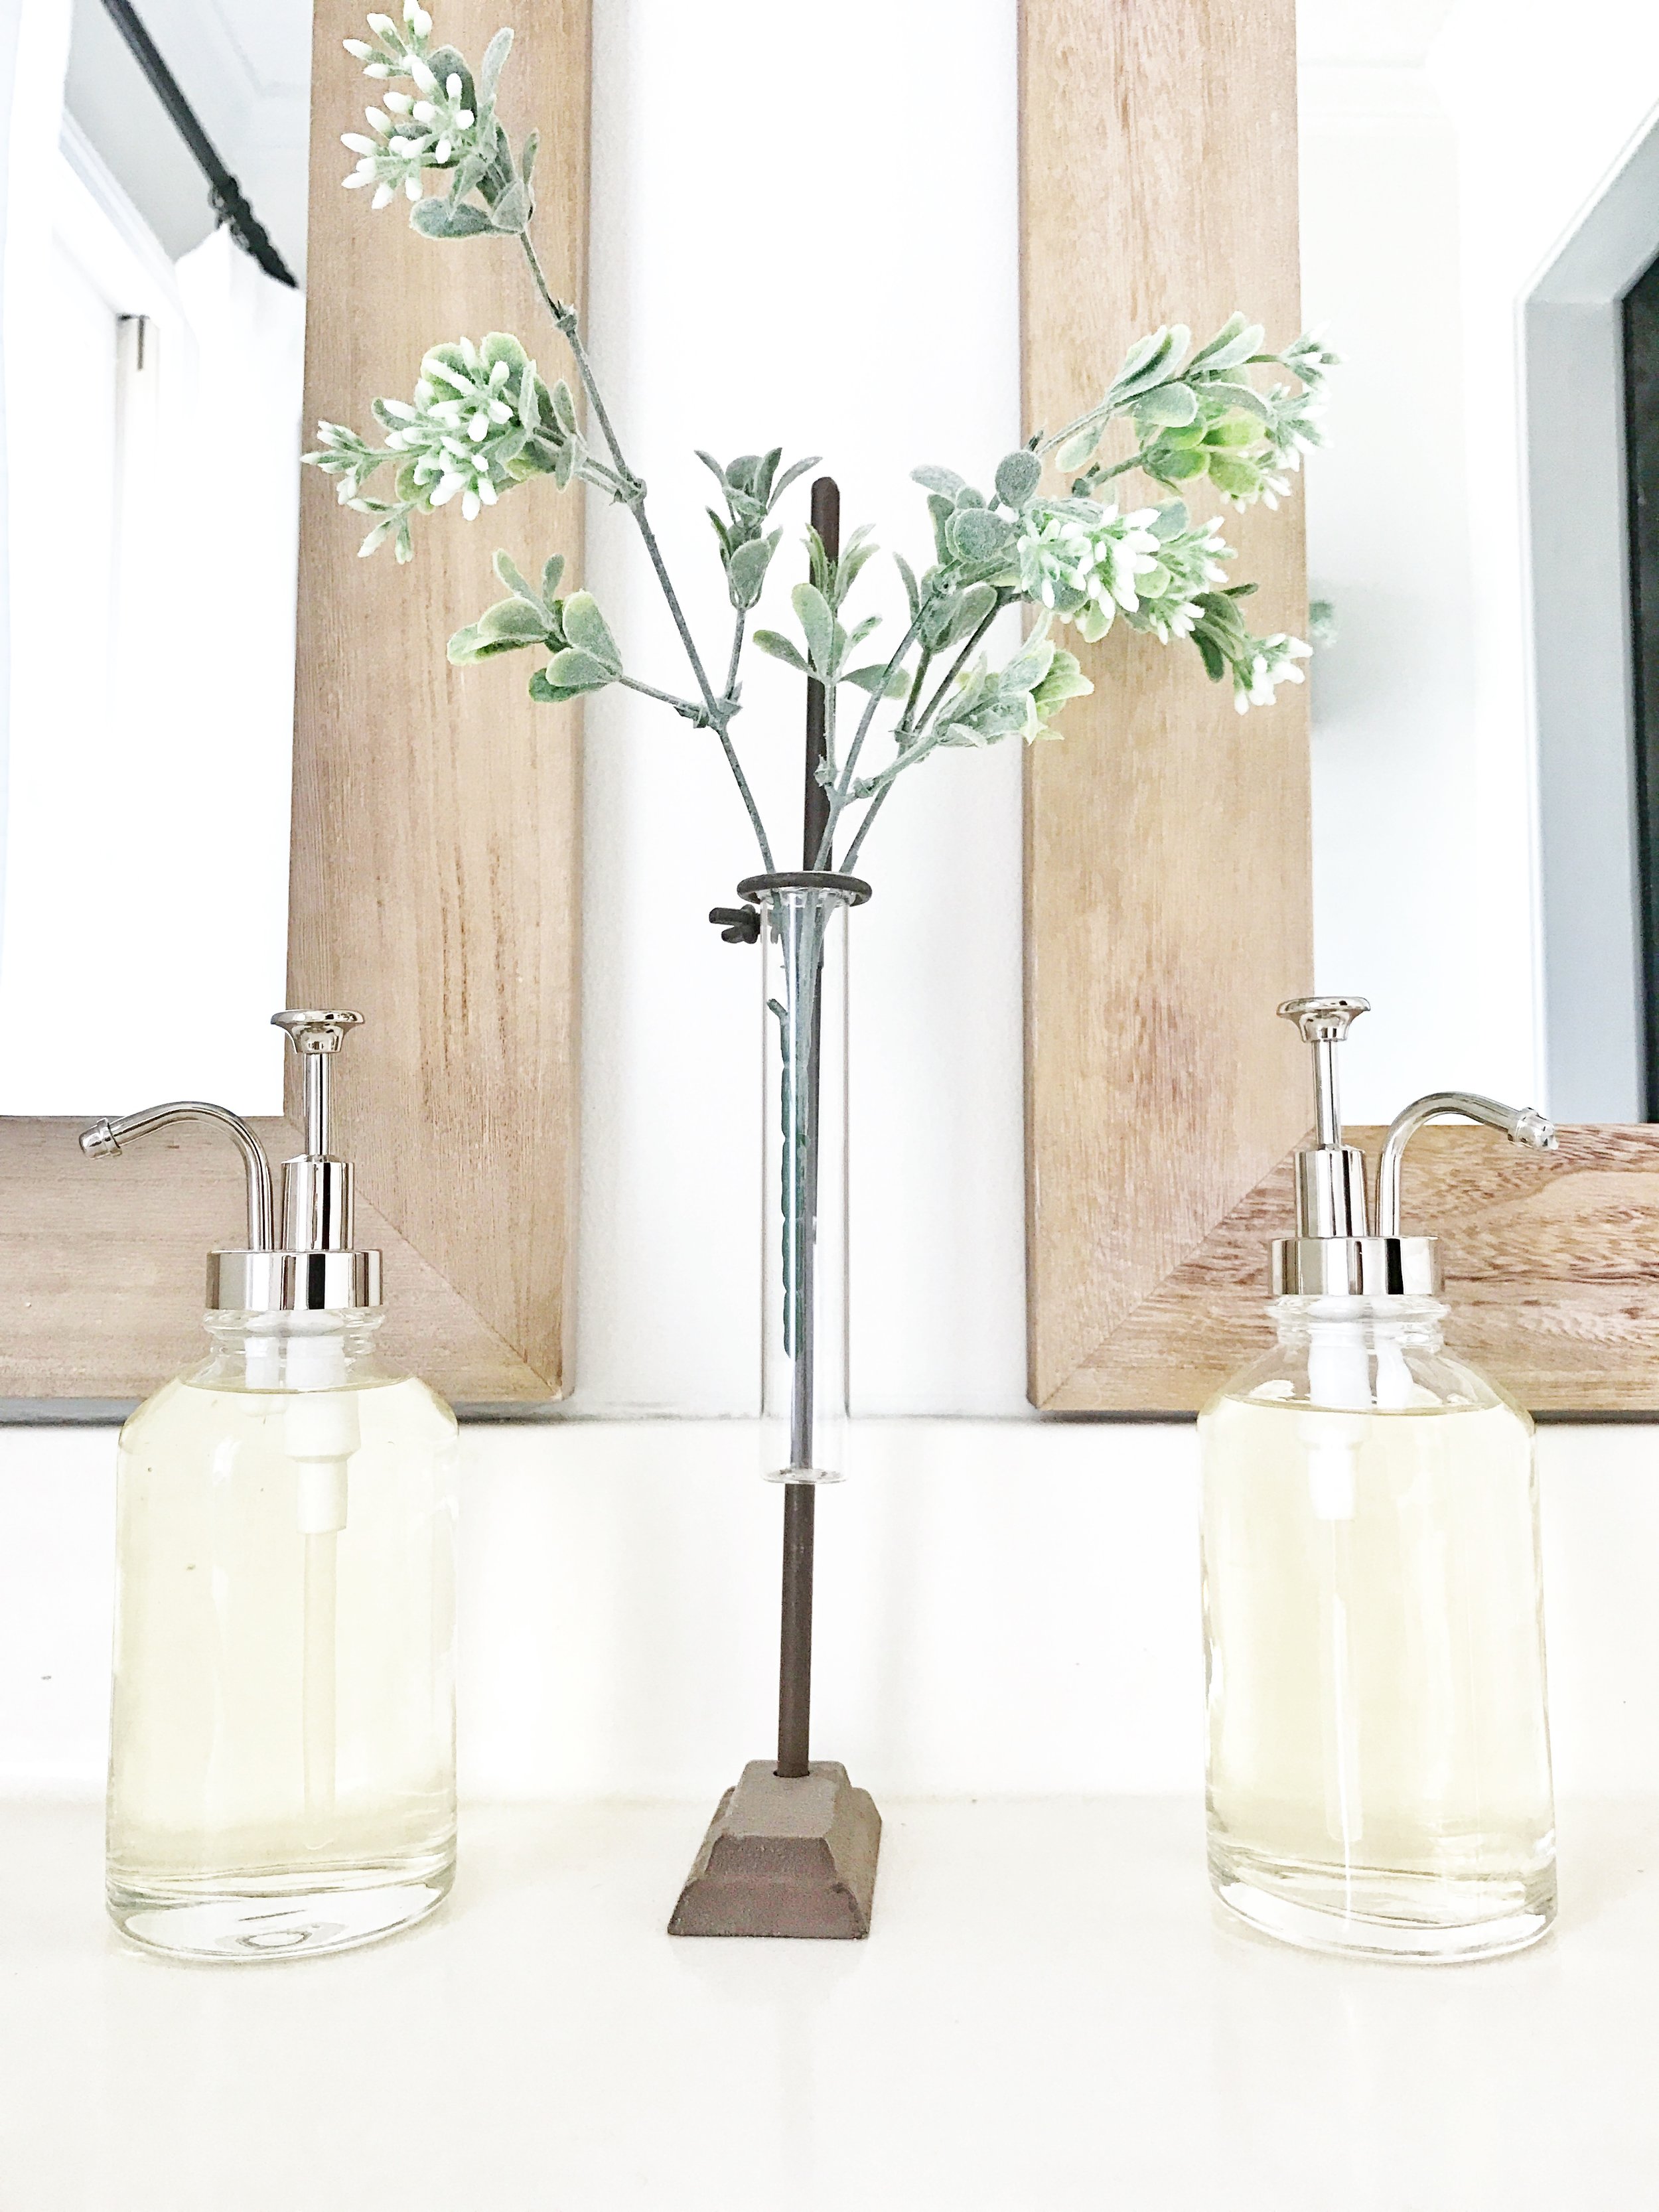
- Soap Dispensers- Target - CLICK HERE
- Curtains- Target - CLICK HERE
- Curtain Rod- Target - CLICK HERE *I spray painted mine a matte black
- Curtain Clips - Target- CLICK HERE
- Shower Curtain- I bought at HomeGood years ago but here is one similar - CLICK HERE
- Hooks under Antique Bread Pan- Hobby Lobby
- Antique Bread Loaf Pan- Antique Find
- Bottles inside- Antique Find
- Hook Holding Towels- Hobby Lobby
- Wood Behind- Reclaimed Wood
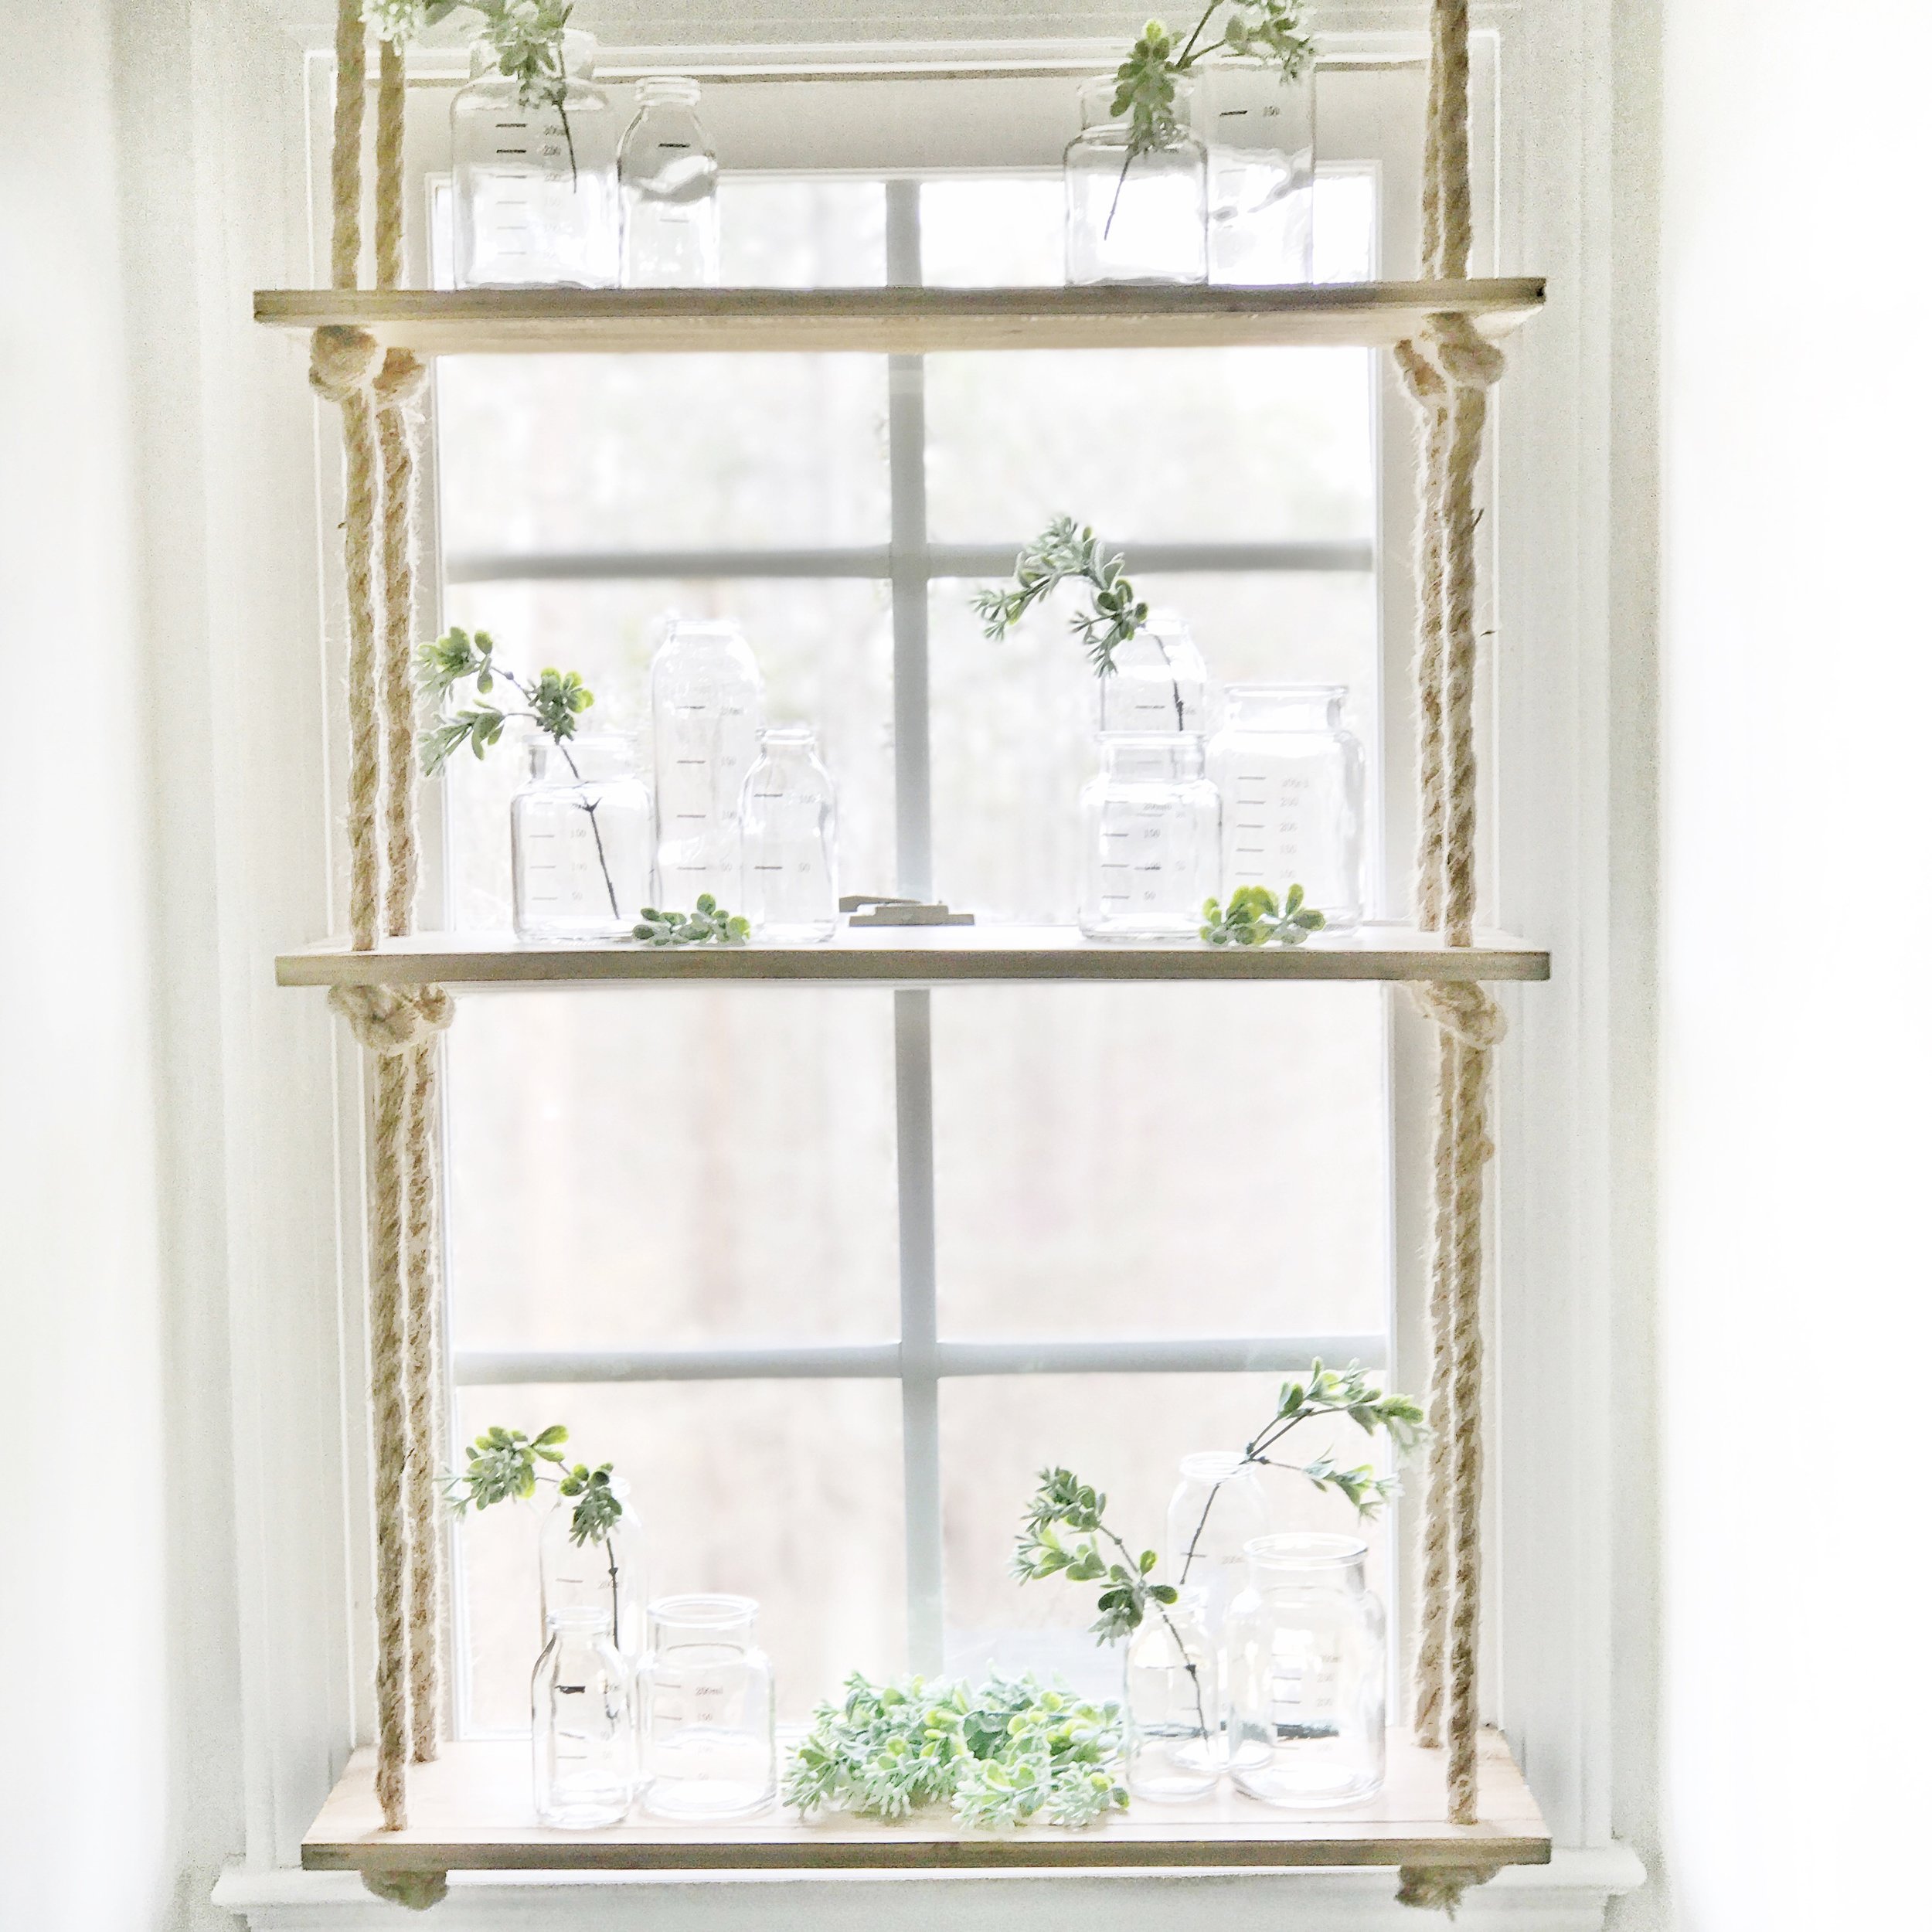
- Hanging Shelf- Hobby Lobby
- Bottles on Shelf- Hobby Lobby
- Greenery- From my show stash
- Wooden Crate- From my show stash
- Antique Glass jars- Antique Store- Similar ones HERE
I would still like to add a tile shower because the tub/shower insert that is in there now has a crack that has been noticebly repaired and slightly stained. But it can be hidden behind my white ruffle shower curtain for now. Also I still have to install the faucets I bought that weekend. Maybe I should have named this post "The Weekend Budget Friendly Bathroom Makeover Kayla Strung Along for OVER a Month." I'll get them in there one day- see there... we all do it. I'M NOT THE PERFECT HOME RENOVATOR.
I hope this gives some of you the confidence to tackle a project in your home. One that you either thought you couldn't afford to redo, or one you were afraid would take forever to complete. Thank you so much for stopping by today and reading my blog. Also as always if you have any questions about anything just let me know! Also feel free to leave me a little comment letting me know how you feel about this weekend budget friendly makeover.
Be sure to follow me over on FACEBOOK , INSTAGRAM, and PINTEREST to keep up with the latest from me.
With love,
Check out my video tour by clicking below!


