A gallery wall of our wedding pictures was one of the first things I hung on our walls when we moved into our house. Mainly because we had the gallery wall at our previous house and I just boxed it all up- so it was like having a gallery wall in a box for the new house. Here is a picture of the wall and table right before I decided to give them a makeover.
This wall was a little tricky to design. It had our down stairs thermostat, doorbell box, a large light switch panel, air conditioner vent, and multiple plug ins on it. I feel like this is the wall that binds our home together. It is the path between the entry way, living room, kitchen and sunroom. It is the center of our home.
I originally painted stripes on the wall because it was a cheap way to make a statement while I was already painting. I used the color of the living room and the color of the kitchen/dining room to make the stripes. Which tied the areas together nicely with our open floor plan.
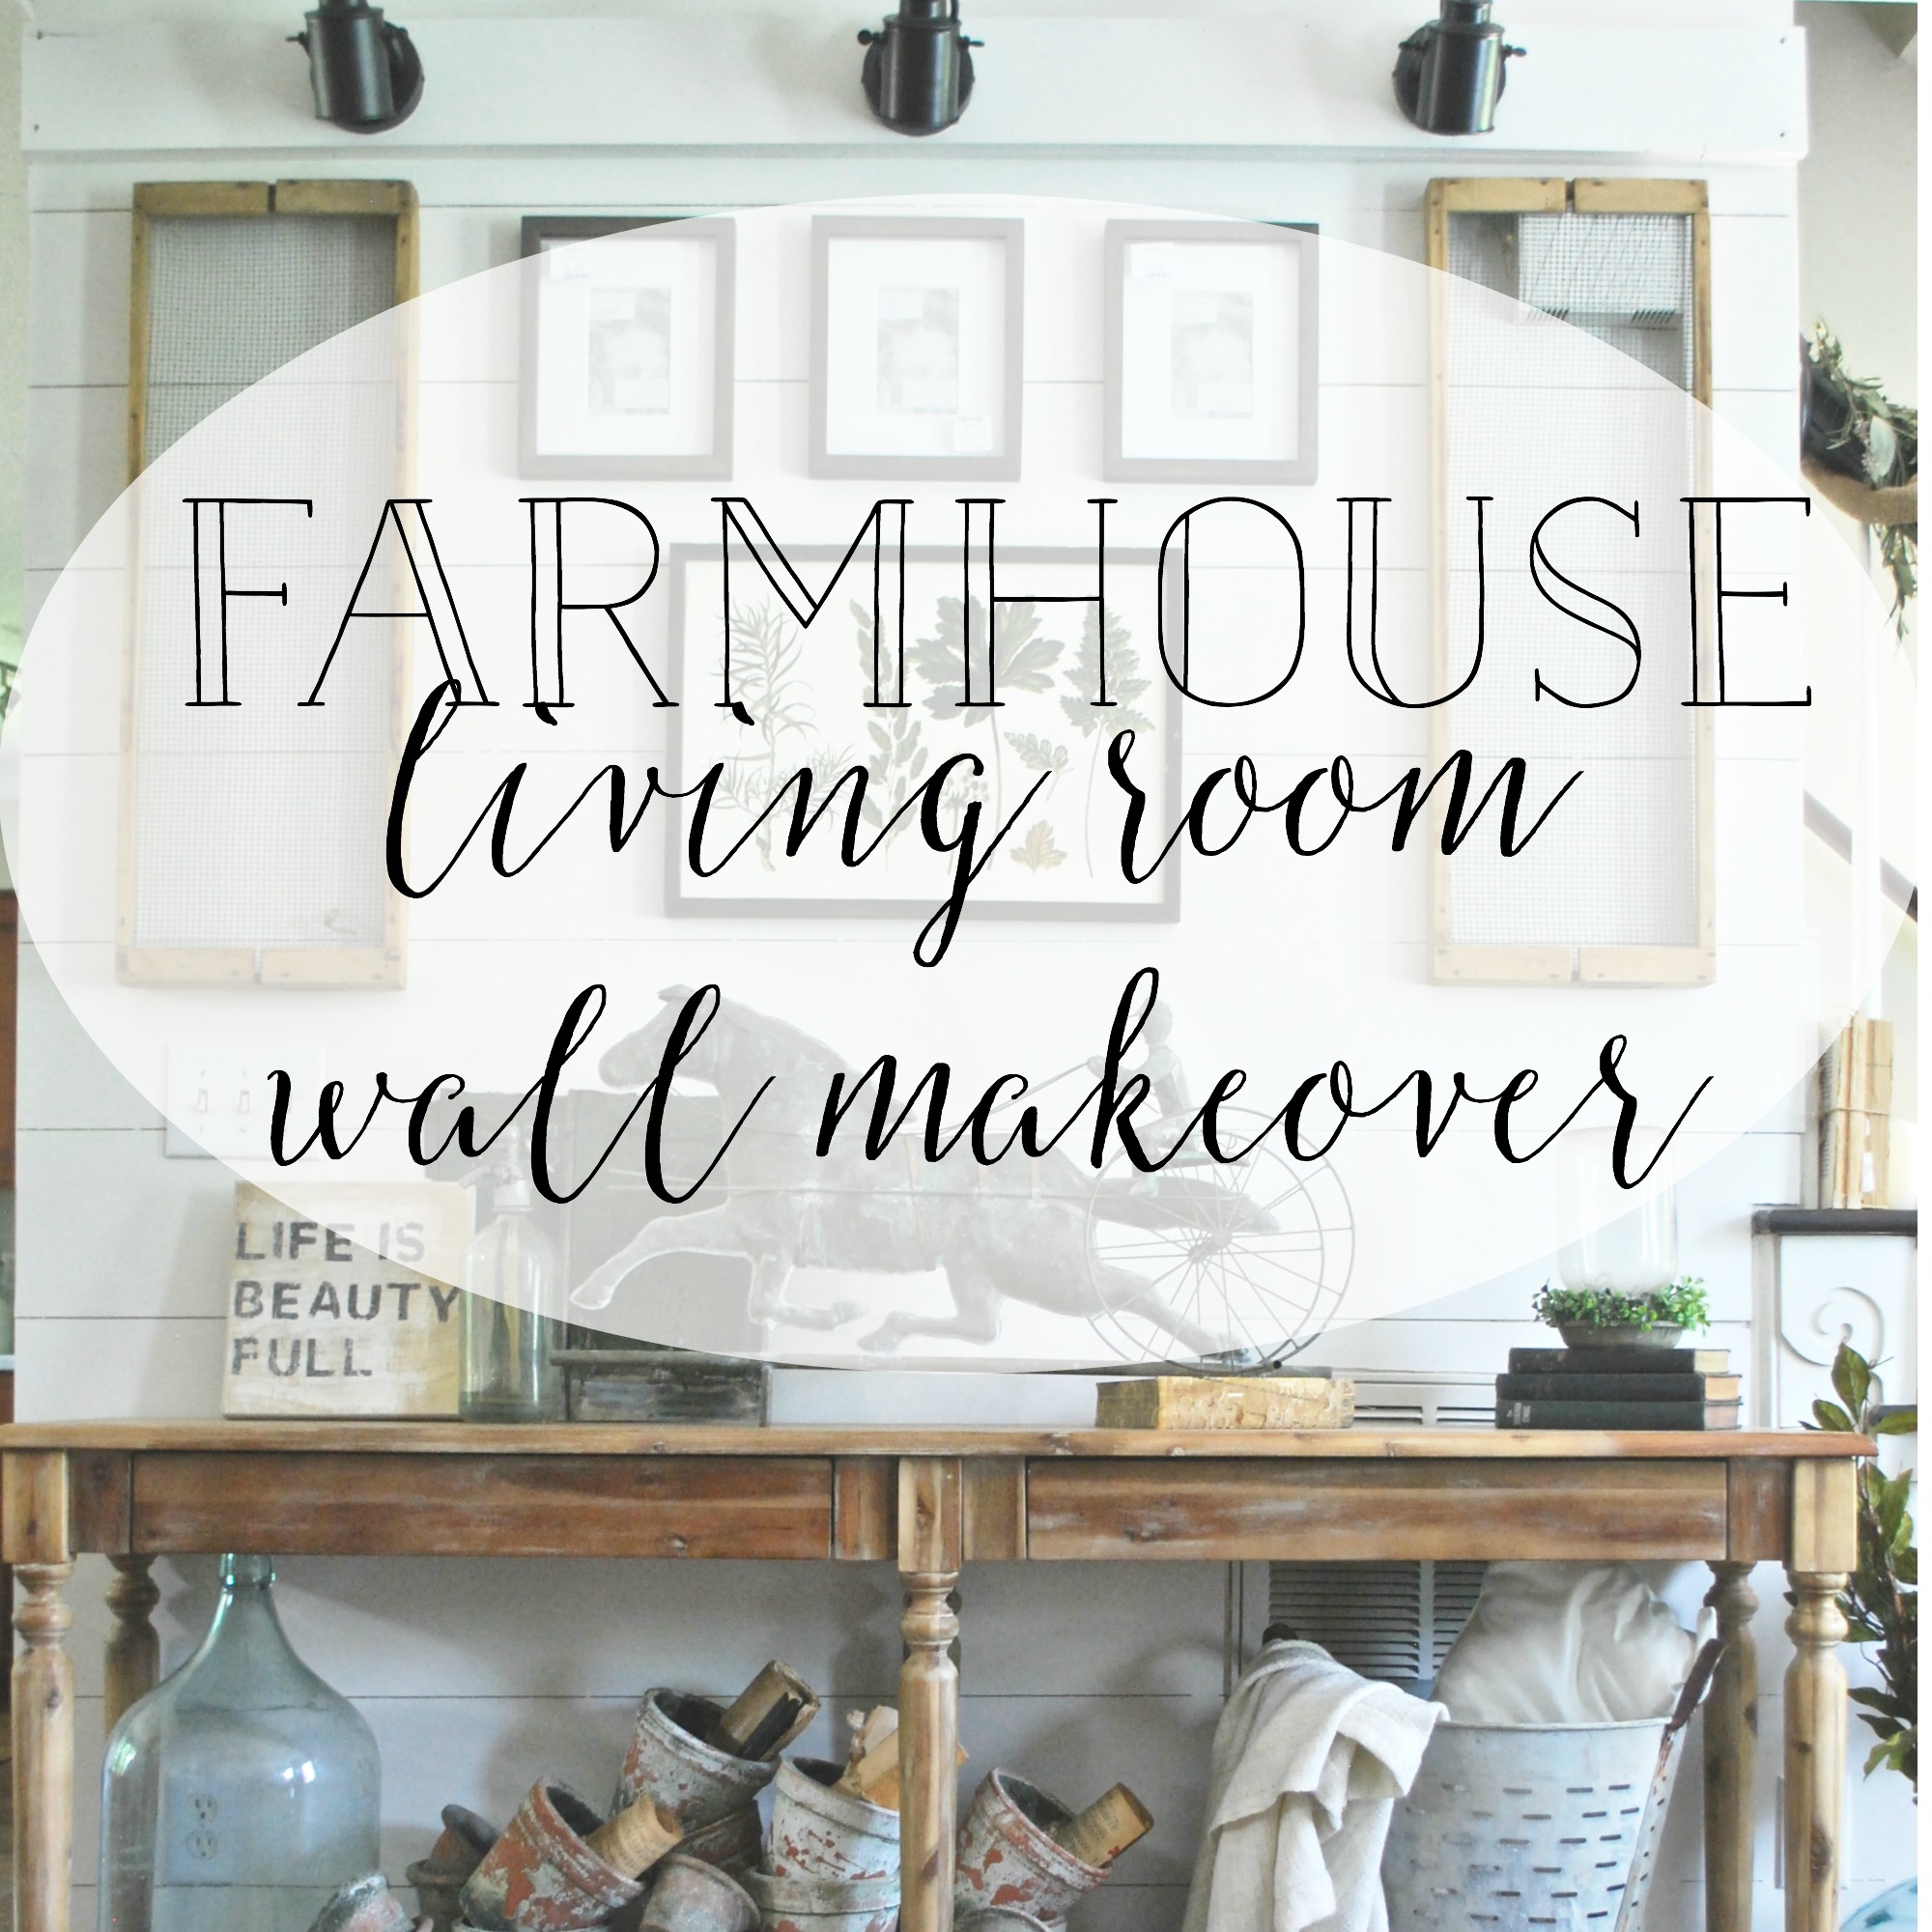
I purchased the Everett Console Table from World Market not long after we moved into our house because not only did I love it, it was the perfect length for the space. I styled the table with things I already had and there it sat for 2.5 years.
My living room is a collected room. Meaning I have selected and bought each piece over time. As my living room transformed I began to feel as though my gallery wall was looking more and more out of place. So one morning while making Austin his coffee I decided to redo the wall. I had added a shiplap fireplace to our living room about a a year and half ago (which I just realized I never blogged) and I felt it would tie in nice to shiplap this wall as well. Okay I will admit it may not be long until there is shiplap on every surface of my home. Not really- but I wish! You can find my easy faux shiplap tutorial here.
What I thought would be a day project turned into 3 days. Lots of cutting "faux" shiplap to go around many obstacles on the wall. But I finally got it all done and painted. I painted the shiplap in Alabaster by Sherwin Williams SW- 7008.
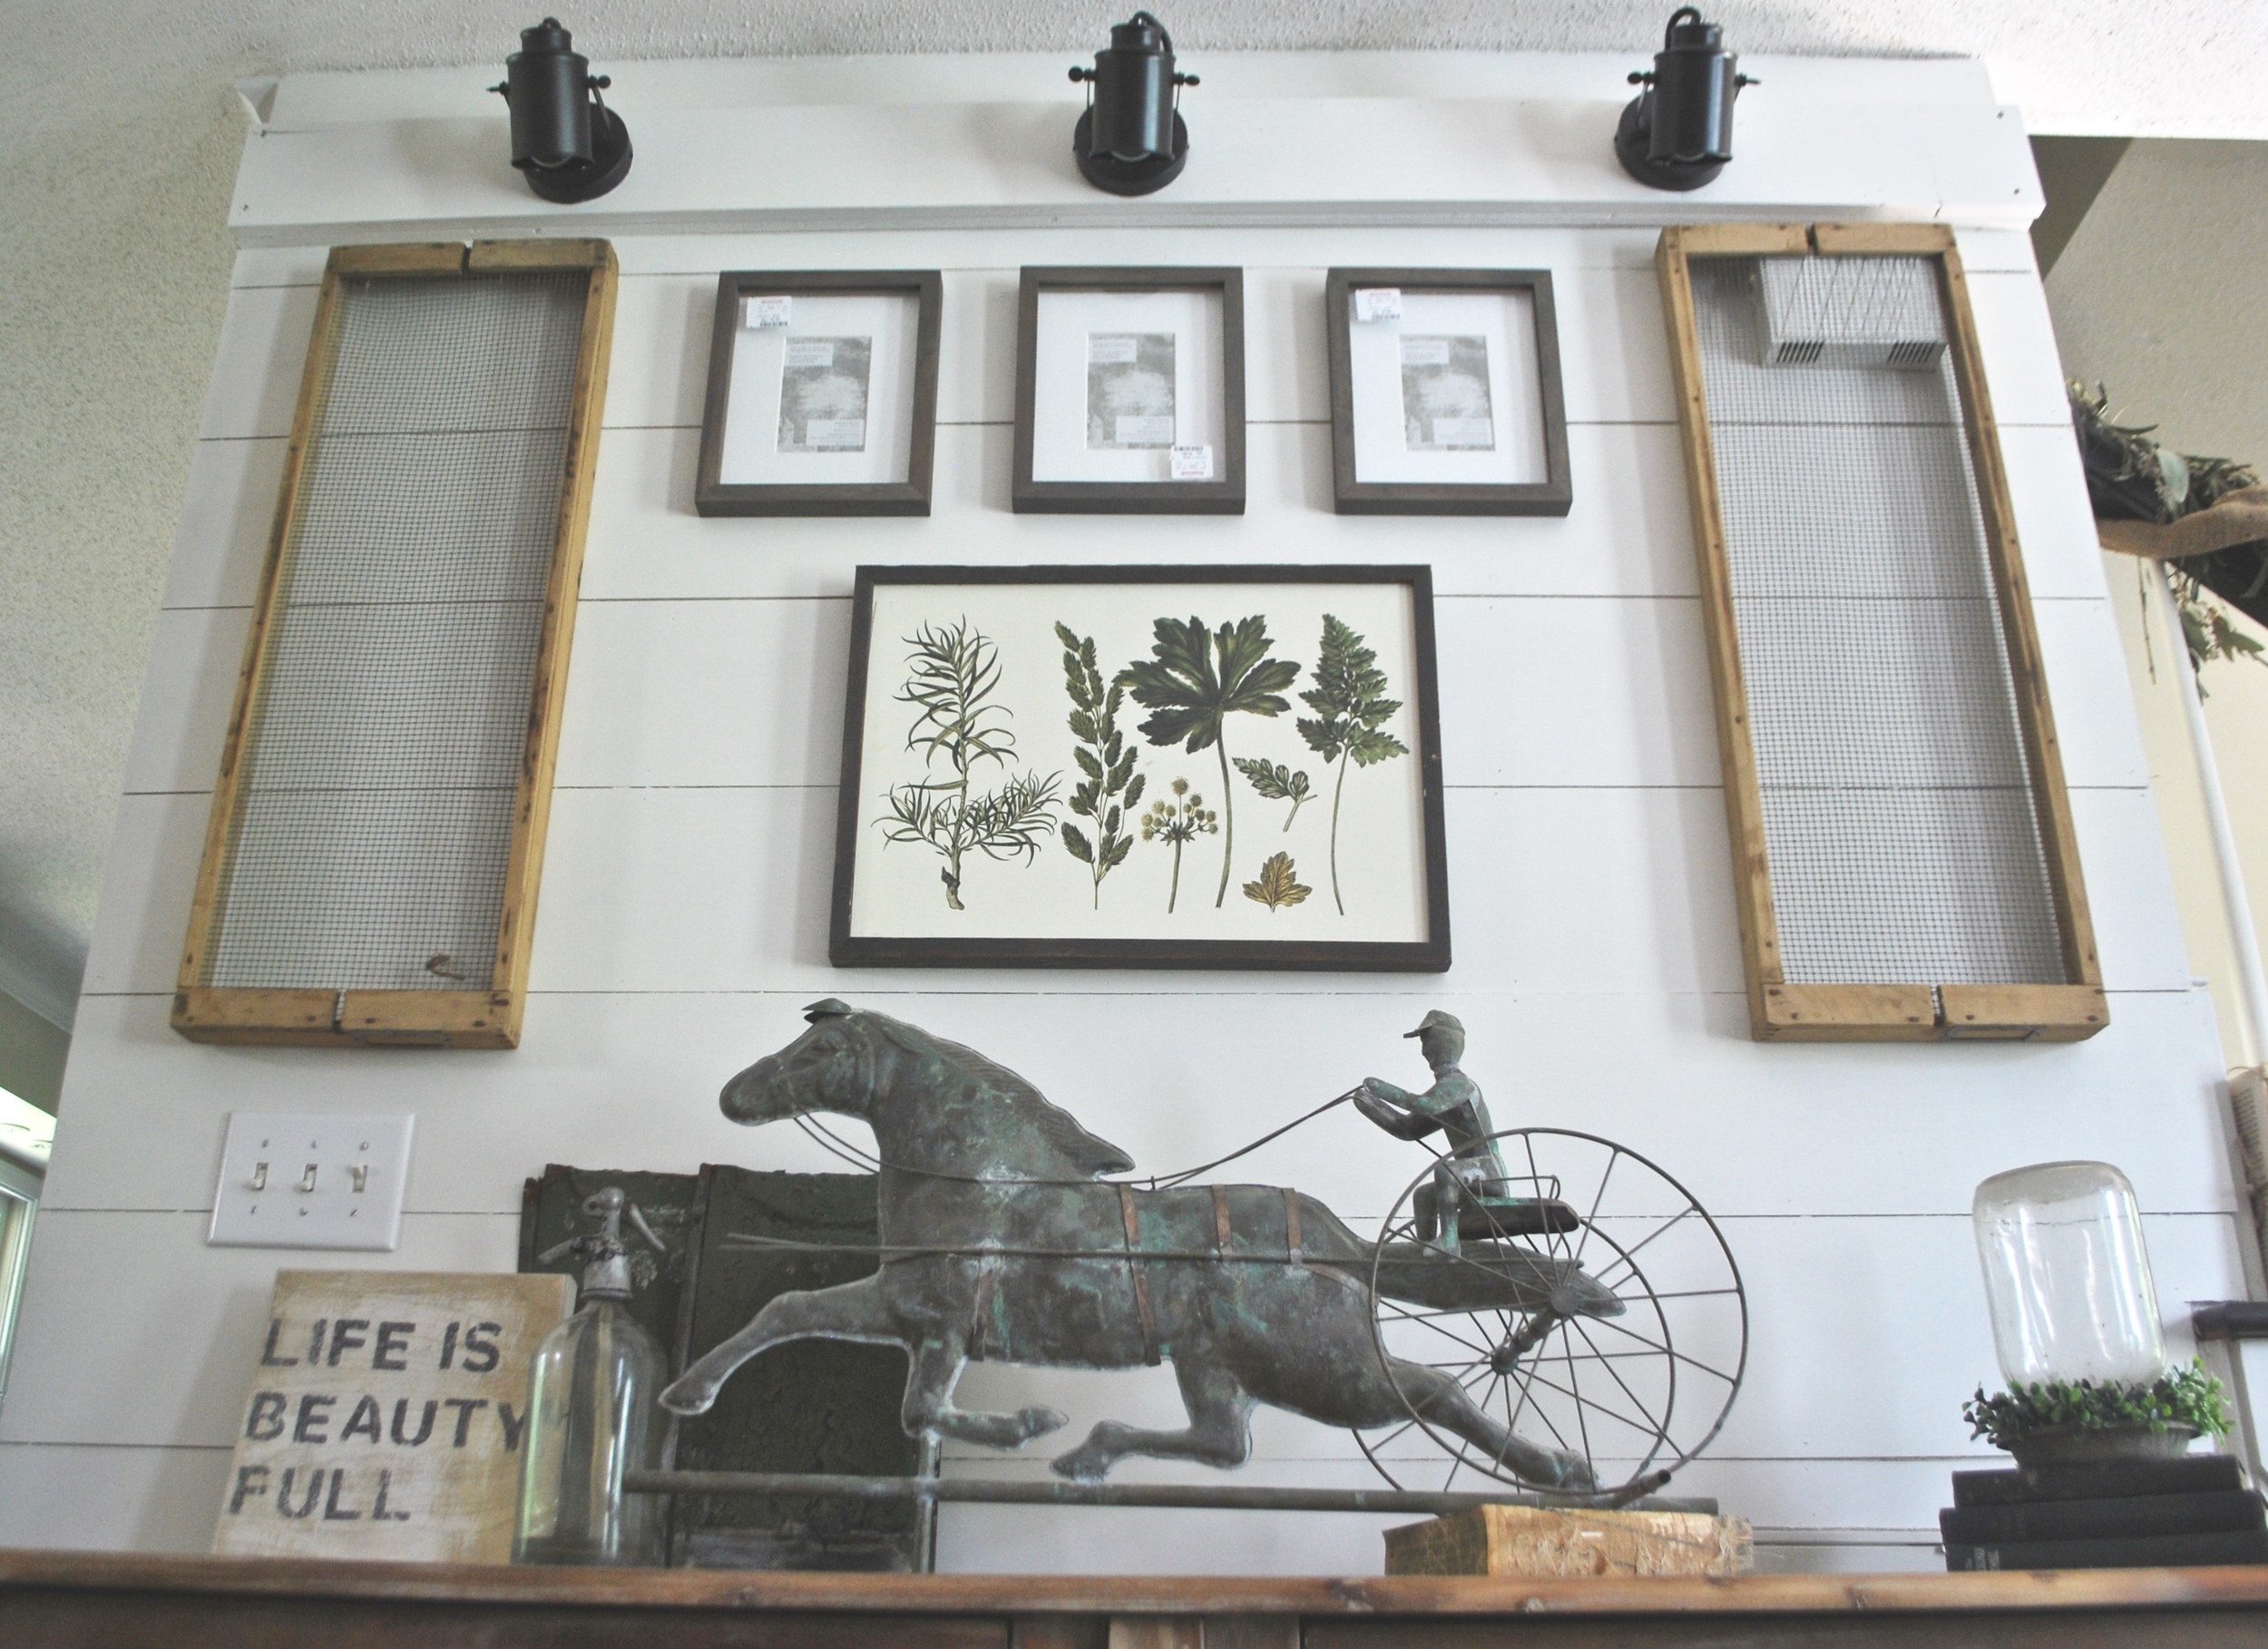
I decided to add accent lights to the wall which turned into a major headache. There was no way to wire the lights because all of the air conditioning duct work that ran through the wall. So I built a wood platform to run the wire behind then into the wall on the side without the ducting. I actual like the way it turned out better than if they would have been flush mounted to the wall.
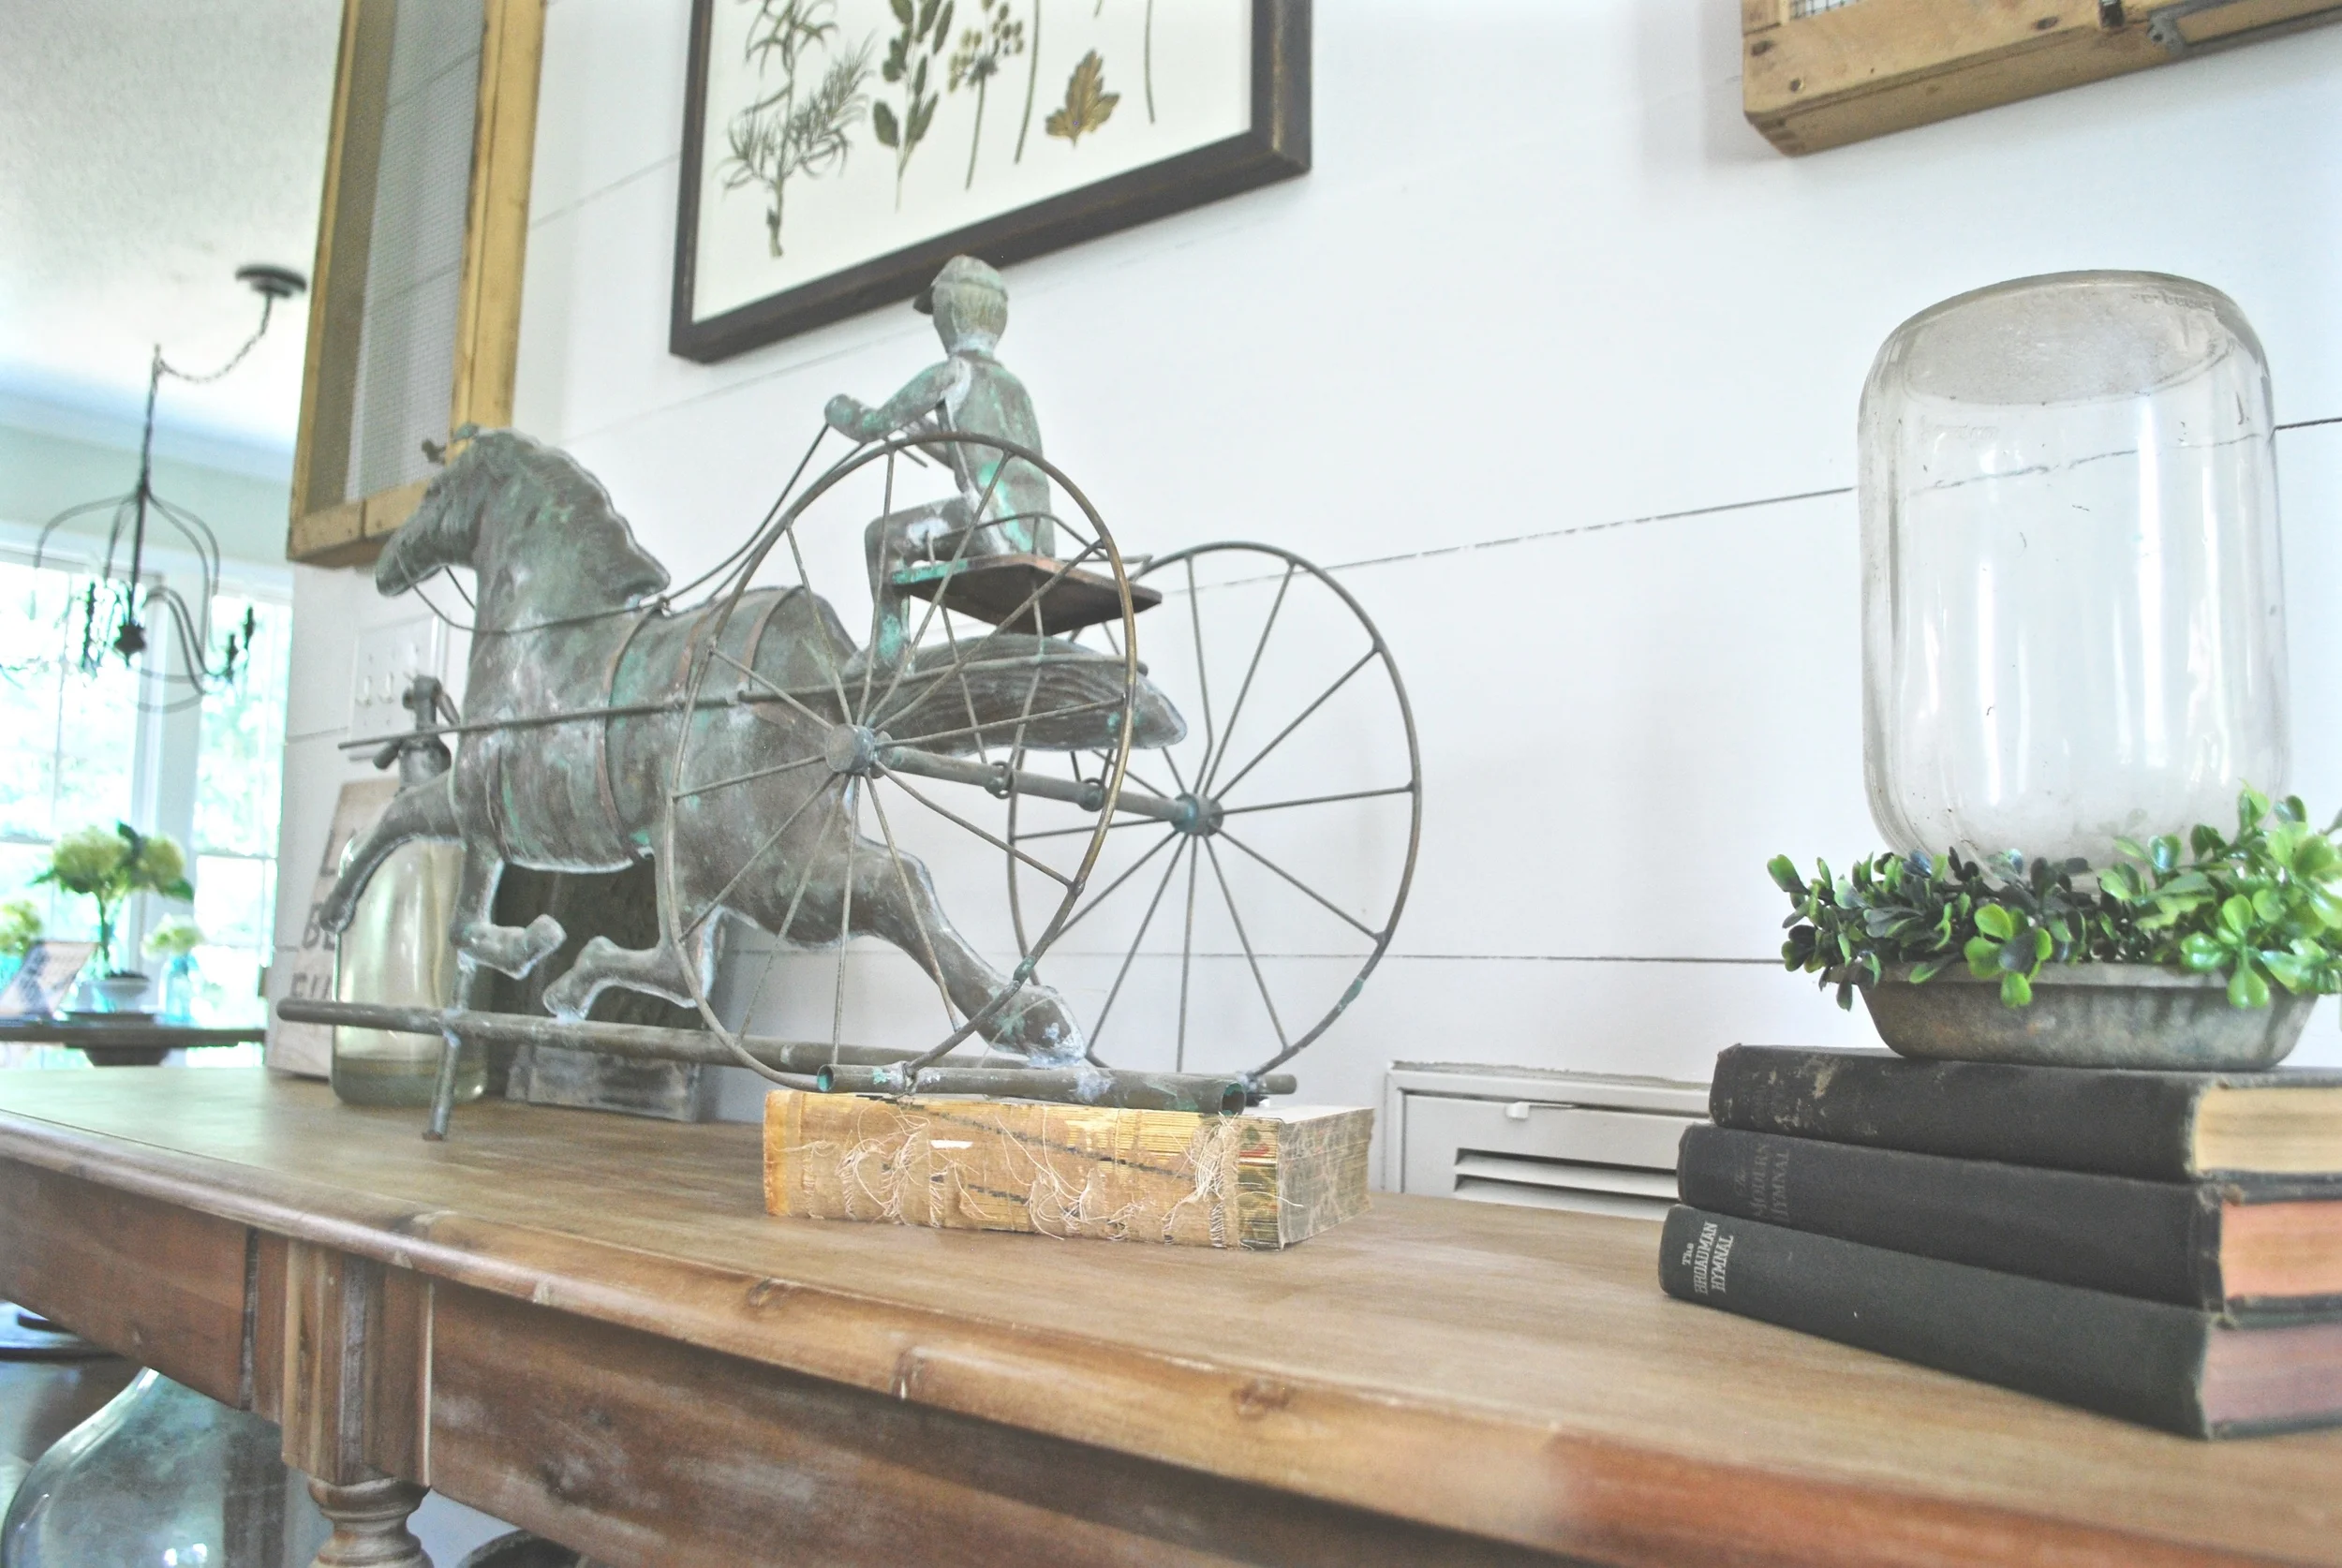
Once all the "construction" was done it was time for me to style. I used a painting I scored at Hobby Lobby for $4, 3 matted frames from Home Goods, and two drying screens I picked up from a Salvage Sisters sale. I used the painting to cover the thermostat and one of the screens to cover the door bell box. I then planned my wall around those things. I used various items I already had for styling the console table.
On top I styled with:
- Old Copper Horse and Carriage Driver Weather Vane Top
- Vintage Seltzer Bottle
- Wooden Life is Beauty Full Sign
- Two Green Chippy Metal Roof Tins
- Some Old Books
- Chicken Feeder with Greenery
On the bottom I styled with:
- Large Early Glass Jug
- Antiqued Clay Pots of varying sizes
- Rolled up Books
- Olive Basket
- Neutral Throw and Pillow
Now I feel as though the wall matches the rest of my living room and my home. I absolutely love the way it turned out. At night I love the glow the accent lights give off- so cozy!
*This post is not sponsored and all opinions any thoughts are my own- as always.


